
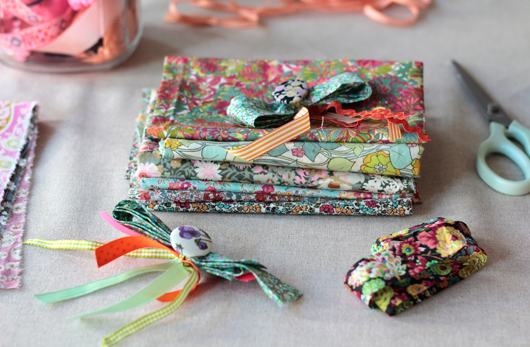
DIY: No Sew Bow Tie Pins To Wear & Decorate With!
Ready for a fun no sew DIY? I thought I'd share a project with you that I recently worked on for the first time in my hotel room earlier this month in preparation for my book launch party at Anthropologie. I mentioned to my husband, Thorsten, that I wanted to give those who were helping me and speaking at my party a special tag to wear but a sticky name tag felt too generic and boring so I wondered if I should just skip the typical name badges and give them something pretty to wear on their lapels and shirts that would set them apart from the crowd AND that they can use and wear again & again. He suggested using fabric, in keeping with my obsession for textiles, and to create simple bows. Of course, it's impossible for me to be inspired and then just do as I'm told - I have to spin it a million time around and around so that I can come up with my very own idea and so that is exactly what I did. I decided to make bow TIES with fabric button centers and pretty ribbons hanging from them. Easy!
STEP ONE ||| My first stop was Liberty where I found lots of ribbons and fabrics. You can approach this project two ways, using: 1) Neat fabric strips, ribbon or bias tape OR 2) Torn strips of fabric with frayed edges. I opted for the "neat" look but in the future, I want to try out the frayed torn fabric strips because I think those could be amazing too! At Liberty, I picked up several packs for their bias tape in, of course, iconic Liberty prints. So YOUR first step for this project would be to pick the fabric, ribbon and/or bias tape that you want to use.
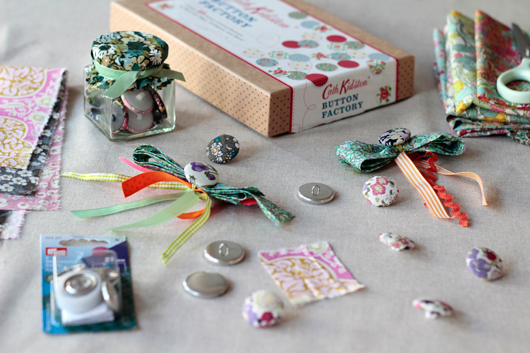
STEP TWO ||| My next idea was, because I was in a hurry, to find already-covered fabric buttons. Liberty had loads in their haberdashery department so I bought a jar of them. You can also make your own with button kits (like the kit from Cath Kidston for Chronicle Books), or buy packages of button kits at your everyday craft and sewing store (the most affordable option). I made them for the first time in the beginning of 2011 at Sania Pell's house when we were crafting together and have been hooked ever since - they are super easy to do, so don't feel intimidated! After finding the buttons, I started shopping at Liberty for ribbons.

STEP THREE ||| The next step is to lay all of your tools out before you and start to think of the colors and patterns you wish to use and determine how many bow tie pins that you'd like to make. This past Saturday, I made 17 of them for students who will be attending the Blogging Your Way: Studio class in my home studio space.
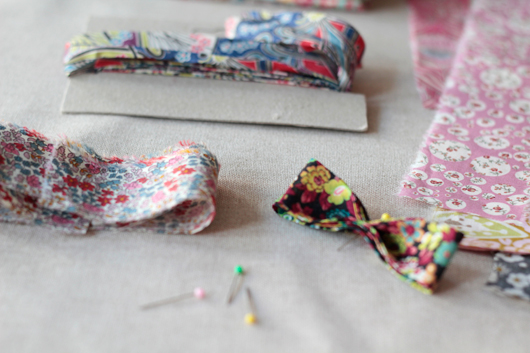
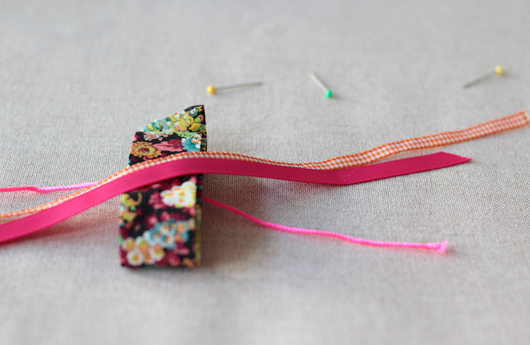
STEP FOUR ||| Loop your bias tape (or whatever you decided to use) around your hand, with your fingers closed, 3 times and pinch in the middle to form a bow. You may want to use a pin to hold it in place for now. If you want your bow to be stiffer, you can use horsehair from a millinery supply shop.
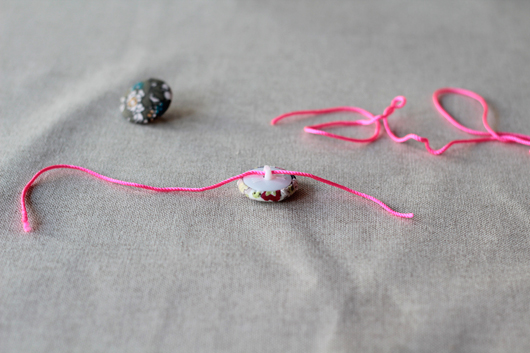
STEP FIVE ||| Next, grab a covered button and put a ribbon or string through the center of your button.
STEP SIX ||| You will now tie the button to the bow by flipping it face down on your work surface. But first, before tying, lay two ribbons down to form an "X" over the ribbon that your button is on.
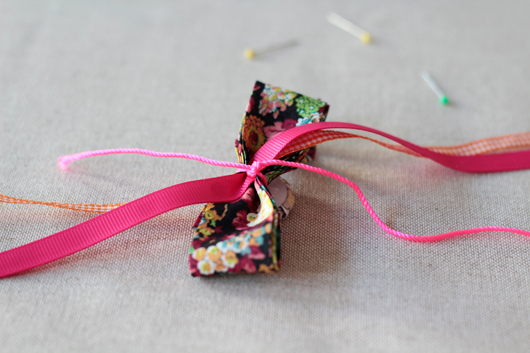
STEP SEVEN ||| Now tie everything together good and tight. I suggest making a knot.
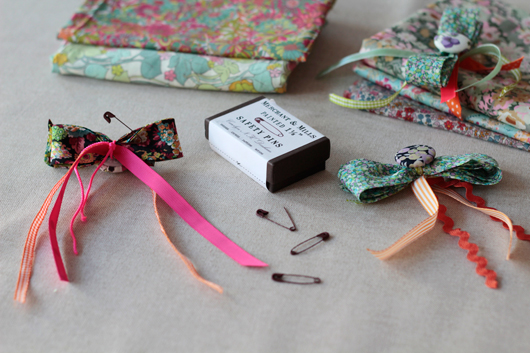
STEP EIGHT ||| Now add a safety pin. I used gorgeous French Pins by Merchant & Mills that I bought at Liberty - but they are available online too. I am addicted to them now and will never use standard silver ones again - these are softer and more flexible but also elevate the craft a bit making it look more fancy.
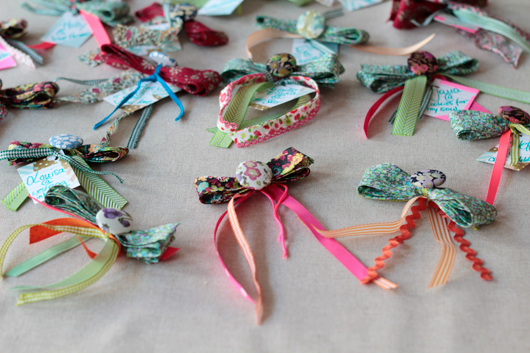
STEP NINE ||| Flip over your bow and admire it, along the lines of, "ohlala", and then do a little happy dance. Make some friends for your bow so there are more pretty ones to enjoy and giveaway. You can make big floppy bows for curtain tie backs, for jackets, for presents and everything else you can imagine topping with a pretty handmade touch. You can also add tags to them with the names of your guests for a party.
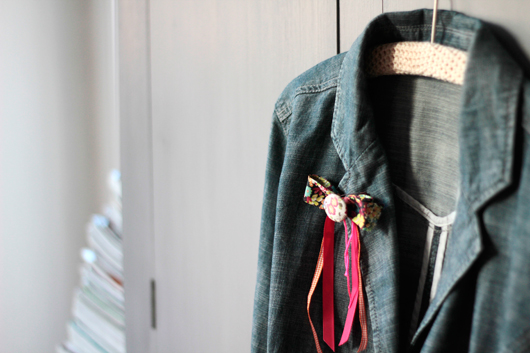
STEP TEN ||| Finally, wear your bow with pride - you made it! No one has to know that it took you minutes to pull together. Doesn't that feel good?
Note: If you share this project on Pinterest and your blogs, please add the link back to this blog post so your followers have the complete instructions and because, well, it's just the nice thing to do.
(images: styling/project & photography: holly becker for decor8)