
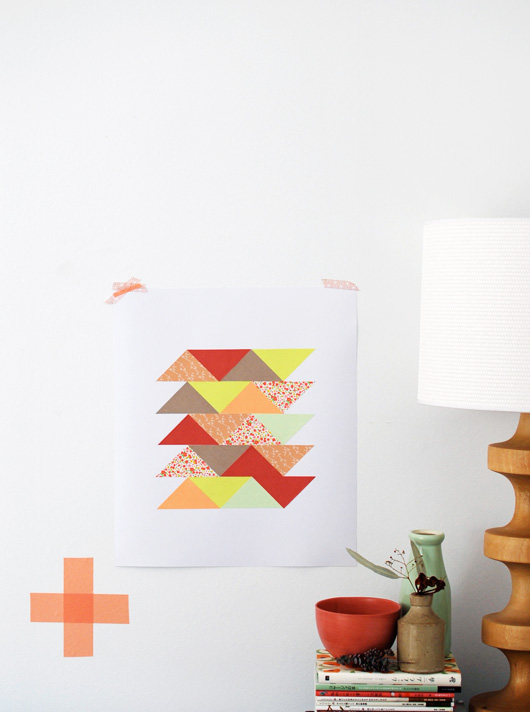
DIY: Paper Patchwork Art
Hello, it’s Lisa here and I’m happy to be back this month on decor8 with my Make Me column to share another simple and stylish craft project with you. It’s always lovely to change things up at home and adding colour with new artwork is a great - although not always affordable - way to do that. With this in mind I’ve created a paper patchwork as an inexpensive and fun way to inject some lovely fresh summery colour into your space. Ready? Good!
You’ll need: * Coloured paper- Origami paper and gift wrapping paper are ideal. You could also use images from magazines or thrifted books * Good quality white heavy weight paper measuring 16 x 19 inches * A craft knife and cutting mat * A pencil * Glue

Step 1: Cut the coloured paper Cut the paper into 3 inch squares. You’ll need 10 squares to make the artwork, but cut more than you need and you’ll be able to play around with the placement of colours and patterns to get your design right. Now cut the squares diagonally to make triangles.
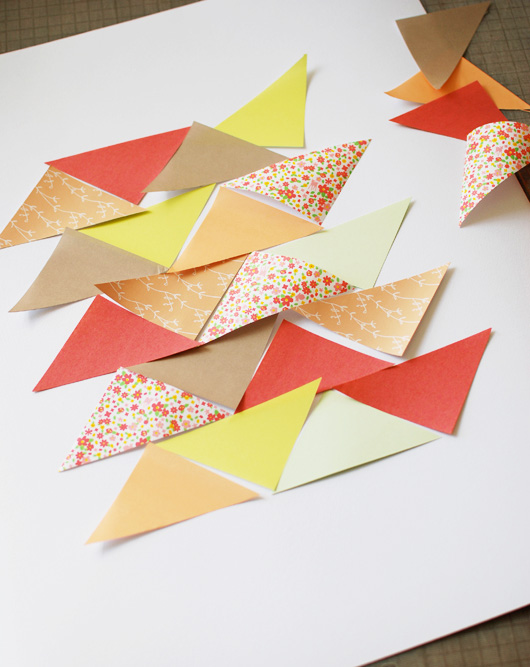
Step 2: Design your art Lay the triangles out on a separate piece of white and move them around until you are happy with the design. It’s easier to design your art and get a good idea of the finished piece if you do it on a white surface. You can lay the colours out in a pattern, or make the placement random like I have. NOTE: Take a photo of your design for reference when you are happy with it, in case it’s disturbed by a breeze, your child or cat!
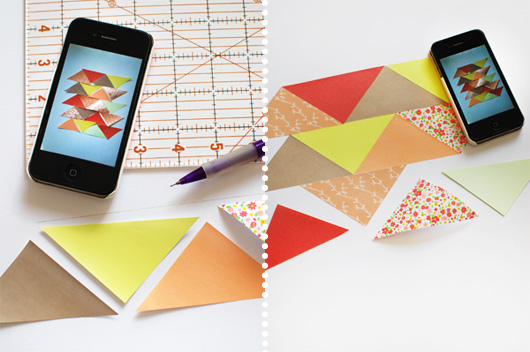
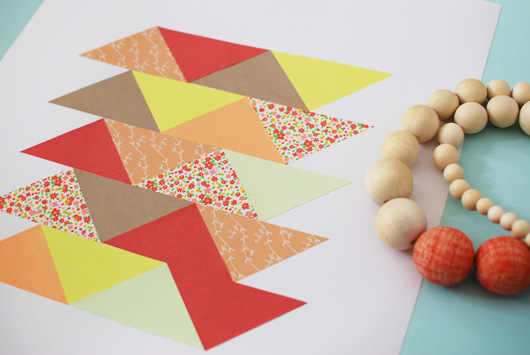
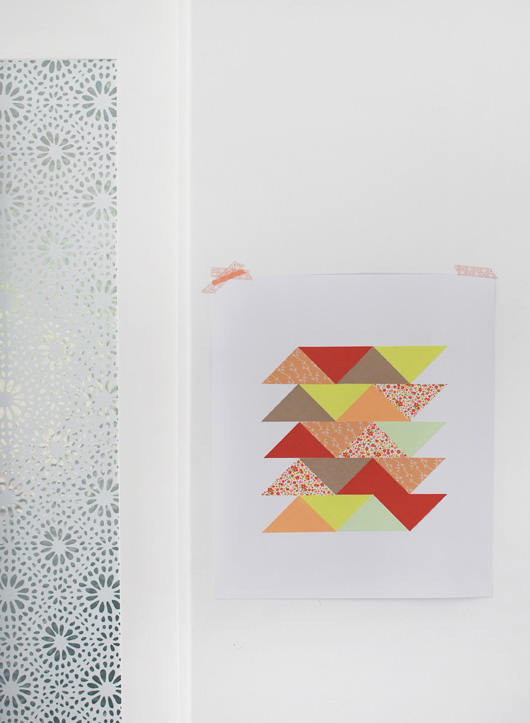
Step 3: Assemble the art Rule a pencil line 6 inches down from the top of the white paper. Start the line 4.5 inches in from the left hand edge and finish it 2.75 inches in from the right. The pencil line indicates the top of the second row of triangles. Begin by gluing on the second triangle in the second row. The left hand point will align with the beginning of the pencil line. Make sure to add glue to all points of the triangles and smooth them down so they adhere. Then add the rest of row two, being careful to align the edges accurately.Now add all the rows underneath, and finally the top row of triangles.
Step 4: Admire your creation and hang it up! Admire your creation, what do you think? Next, hang it! I love the look of art hung with washi tape, and thrifted frames can look fabulous sprayed white, even without glass.
Have fun creating your own art piece - whenever I make a new artwork I enjoy moving my things around and finding which of my vases and homewares coordinate with it to make a fresh new space in my home. I’ll look forward to returning next month with another fun and achievable craft project. In the meantime take some time out of your week to get creative! - Lisa xo
(images/text: Lisa Tilse)