
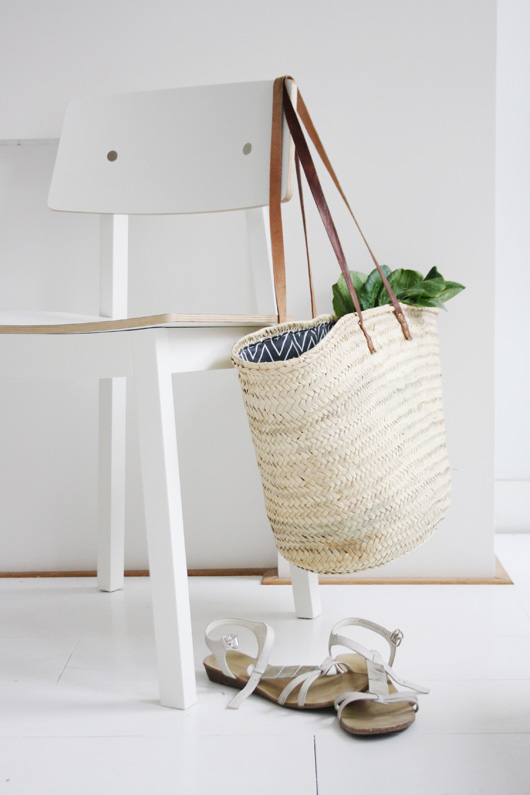
Easy DIY: Lined Wicker Summer Market Tote
Hi there decor8 readers! My name is Holly Marder and I’m an Australian writer, interior design journalist and stylist based in the Netherlands, and I document all things style, interiors and lifestyle on my blog Avenue. I am so pleased to be sharing this quick little DIY project that is beyond easy! My good friend recently gave me a cute little book for my birthday called Home Made Vintage by Christina Strutt, the lady behind Cabbages & Roses. It’s all about creating a cosy home with homemade lovelies from cushion covers and lamp shades, to well...basket linings! After picking up an inexpensive woven tote from my local Dille & Kamille (they do the most gorgeous, simple kitchen and lifestyle wares), I though it was high time I whipped out the book and got cracking on one of the easy projects! Would you like to see what I've done so perhaps you can try this too?
You will need: Cotton fabric Wicker tote; I chose this one Paper for making patterns Pencil Scissors Sewing machine Needle and thread Tape measure Pins
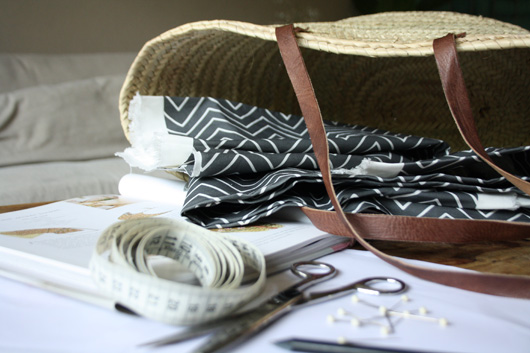
How To: Measure the depth and circumference of your basket and make a paper pattern, adding 5/8 in. (1.5cm) all around for seams and hems. Make an oval shaped paper pattern for the base of the basket in the same way. Lay your patterns on the fabric and cut out the correct number of pieces. You may need to join several pieces to get a piece large enough to fit around the circumference; if so, remember to allow for extra seams. I divided the circumference of the basket opening by four to end up with four pattern pieces.
Join the fabric pieces, right sides together, for the sides of the basket into a ring, taking in 5/8 in. (1.5cm) seams. Press seams open. With right sides facing, pin the base piece to the lower edge of the ring, snipping into the seam turnings on the lower edge of the ring to help fit around the curved edge. Stitch the pieces together, taking a 5/8 in. (1.5cm) seam.
Fold over and press a 1 in. (2.5cm) hem to the wrong side along the top raw edge of your lining.
Insert the lining into the basket and pin the top edge in place. Hand stitch the lining to the basket along the top pressed edge using a running stitch. Bear in mind that the color thread you choose to use will show through on the outside of the basket, so go for something neutral.
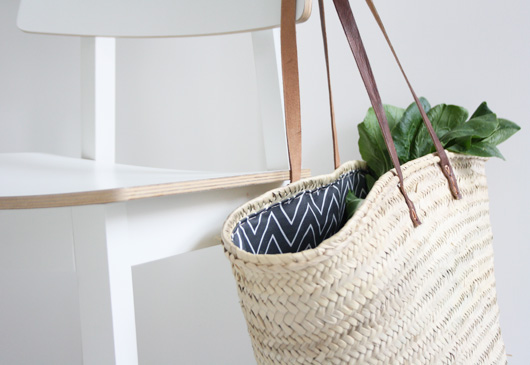
Hope this all made sense and it has inspired you to give this little project a try. I love the look of the tote now, and the best thing is when the bag starts to wear out (because trust me, I haven’t left the house without it), I won’t run the risk of losing things that might disappear through the tiny holes at the bottom of the bag. The lining also just throws in a little bit of personality and color, and I personally love the combination of the leather, wicker and fabric. While I love the graphic print and simplicity of this fabric, a delicate floral would also make a lovely fabric choice, as well as an earthy linen. But the best part has to be that it can be easily removed and inserted into a new bag when this one finally gives in. It doesn't get much simpler than that!
Good luck trying this out yourself! Thanks so much, Holly, for having me on decor8 while you're off shooting and styling for your next book! Have a great day everyone - Holly Marder
(images/text: holly marder)