DIY: Affordable Branch Pendant
I'm so excited to bring you Anna-Malin Lindgren, a new decor8 columnist based in Sweden, who will produce a special project for us to share on the 2nd Monday of each month. She isn't really writing a DIY column, so all of the details will not be provided step-by-step, but she will be sharing things that she makes for her home along with how she used them to decorate a room for a little decorating inspiration. I'm going to hand the mic over to Anna-Malin now, so please, take it away and show us what you've made!
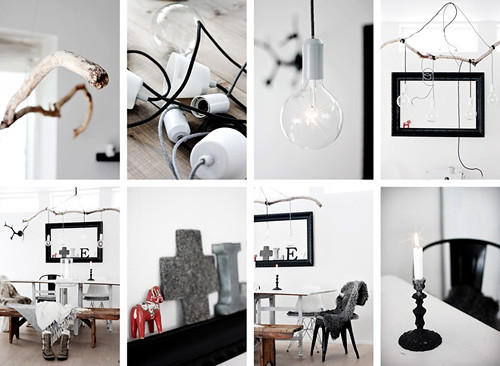
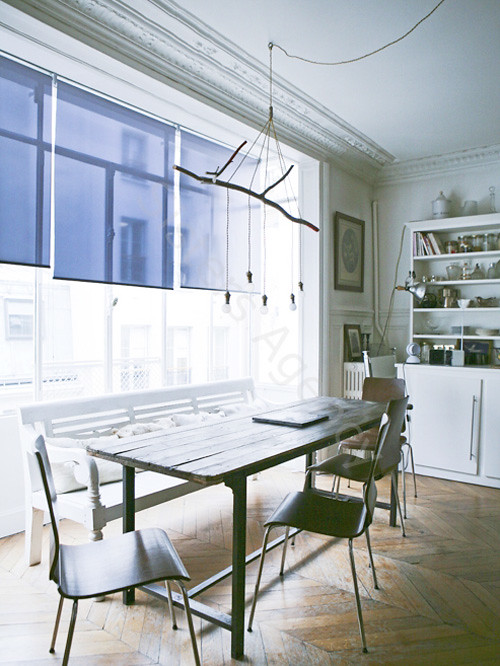
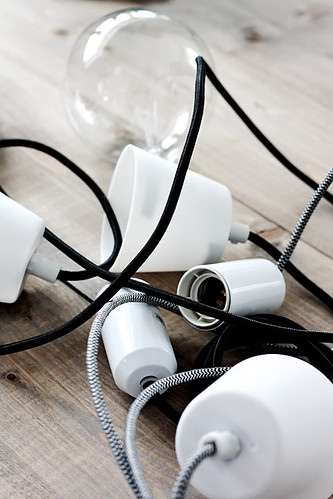
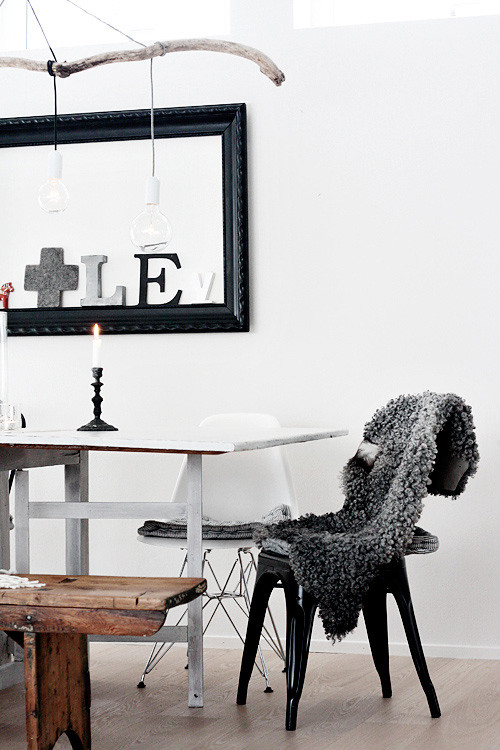
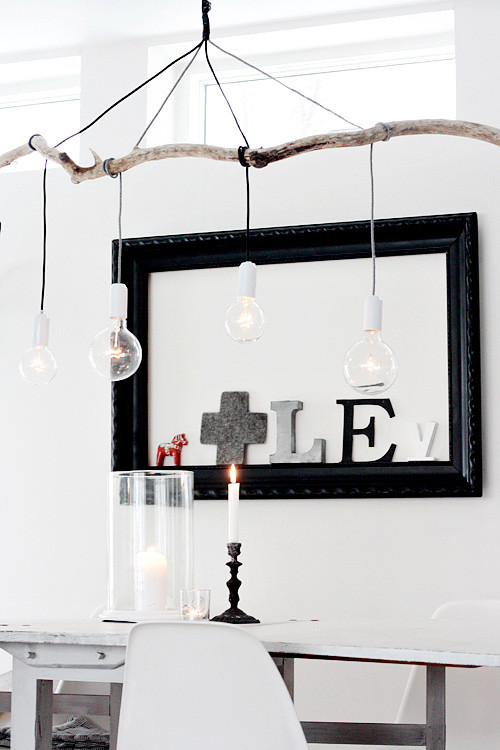
Hello decor8 readers! Today I’ll show you a nice, personal lamp that I made from simple means and how I decorated my dining room around the light so that you can get a double dose of inspiration. I will do this in all of my columns because showing only what I made may not be that helpful but seeing something handmade in the home -- "in-situ" -- just may give you a different perspective on how you can decorate nicely on a budget by making things yourself. If you want to try to make this affordable branch pendant you’ll need only a few key ingredients: an electrician, a branch from a tree (quite large) and 4 fabric-covered cables with either plastic or porcelain white sockets (try NUD Collection for a variety of cord colors). I got the idea for this lamp when I saw a picture in a magazine a year ago (inspiration below) and I thought to myself – I can do this! Here is my inspiration...
I kept this tear from a magazine, I can do this! So I did!
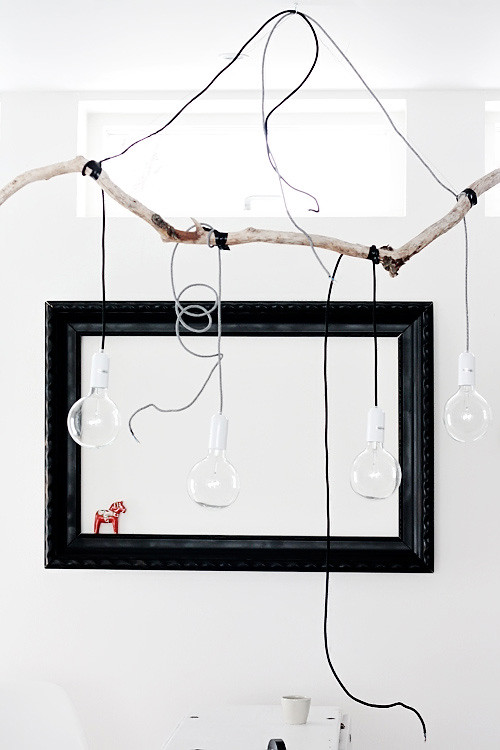
I had the branch already for several months. It was brought home by my youngest son when we were out walking in the woods last summer. I started by hanging the lamps on the branch to figure out the perfect placement. When they had the right amount of space in between them, I used ordinary black tape to secure them in place. The next step was to measure the distance from the ceiling and then I selected a point where I gathered all of the cords and taped them together, tightly. Tip: When you finish, make sure you use clear bulbs - not frosted ones!
Taping them into place...
Next, I cut the cords (with a few inches to spare) and called my “hubby” -- he did all the electrical stuff and fixed it so that the four cords connected to only one. You can use a terminal strip for this but I suggest calling in a friend who is an electrician because you can seriously cause problems or worse, burn your house down if you do this wrong - I nor decor8 can take responsibility for your safety, so check with a trained electrician! My husband also removed the tape and secured the cords onto the wood with u-shaped nails.
Voilá! Not hard at all. Now I have a unique, personal lamp for not much money at all. The cords were about 10 euros each (so 40 Euros) and the branch was for free! Of course, you'll have to pay for the time of an electrician (I was lucky to have my husband) but if you have a friend who is one, or relative, perhaps this light will be an affordable option over your dining room table, too.
Did you like this? Next month I will surprise you with something fresh and fun (and affordable) so stay tuned. If you have any questions about this project please ask in the comments section below.
See you with another project on February 14th! -- Anna-Malin Lindgren.
(images: anna-malin lindgren)
