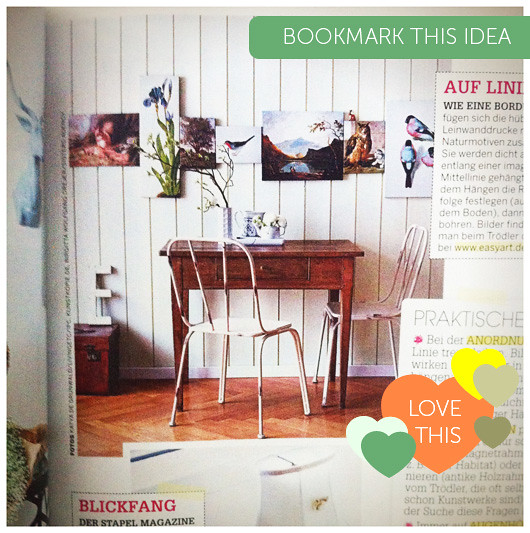
DIY: Art Border
Hello and happy Friday! This idea is in my upcoming book in the home of a British photographer, but I came across something like it in the September issue of Couch magazine, a super fab German mag dedicated to fashion and home, and simply had to share it! The idea is very simple so you may see it and wonder, "Why didn't I think of that!?", because it's truly a very easy trick for displaying art yet it feels quite fresh and interesting to look upon. See for yourself...

This is art displayed in a single row to create almost a "border" above a table, sofa, bed... Anything and everything. I haven't seen this trick used that much but I think it has the potential of really catching on and sticking around. You select your favorite works and simple line them up and secure to the wall. But of course, you do have to have some type of game plan to make it work because rarely can these decorating ideas be thrown together without some thought.
To make an Art Border work, try some of my styling tips below:
- Choose work according to a theme - nature, geometric, color, travel destinations, black and white only, sephia only, etc.
- Hang art so that the centers line up - not the bottoms or tops (though you can experiment) but I like the centers in line as it feels less chaotic.
- Place work side by side, touching, without space. If you are using objects, you can give them some breathing room but space them closely and evenly apart. Again, you want consistency not chaos.
- If using only art, opt for either framed or without frames so that there is some consistency.
- If you decide to use objects and art make sure you have some kind of them going on to link them together.
- If you go with frames, try to make them all the same or have them be the same shape (I'd avoid circles/ovals) and then paint them in favorite colors that work with the art.
What a fun idea!
Would you try this at home? I totally will!
(image: photo taken by me of couch magazine.)
