DIY: Set of 3 Hanging Mirrors
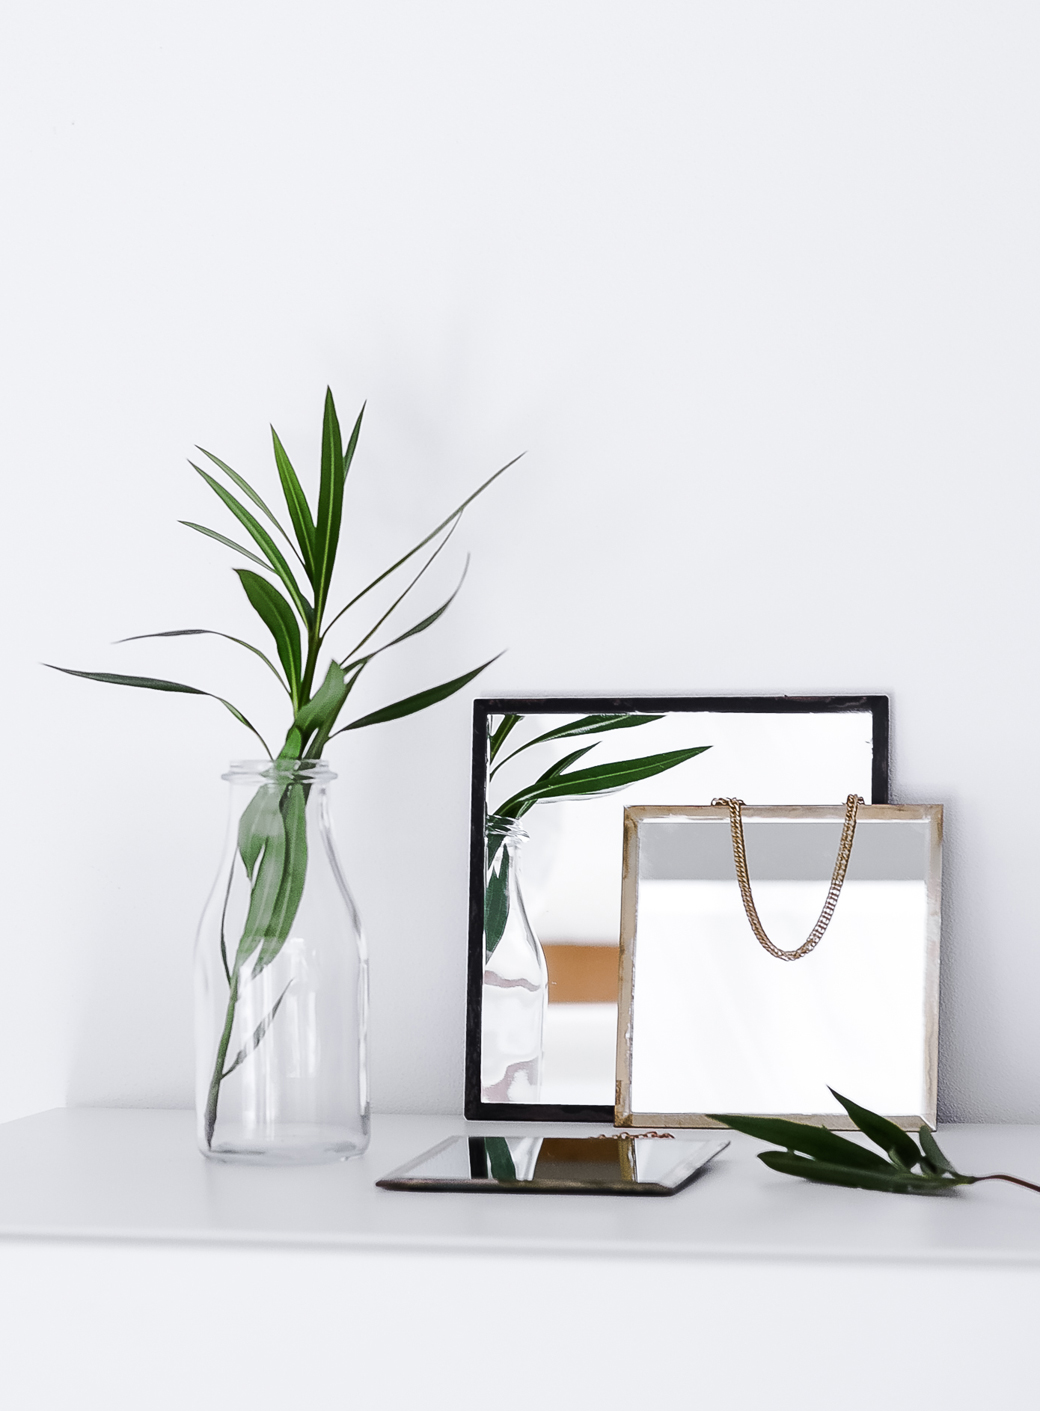
Hello decor8 readers, it's Agata here again and I can't wait to share with you a new, interesting DIY idea to try! This time we will be dressing up mirrors. Are you ready? I've always loved decorating with mirrors, as apart from being stylish, they are very practical - they open up a room and reflect light, making each corner feel brighter and bigger. That's probably the reason why I have at least one in each room. How many to you have at home? I particularly like the look of hanging mirrors in groups, in all possible shapes and versions. Whether they are modern or vintage, they add something a little more special than the standard framed ones so having one (or 3!) on your wall is a great way to show some character.
Sometimes though, mirrors can be overpriced, so I always try to come up with alternative ways to 'get the look' without breaking the bank. If you are a little like me, a fan of budget-friendly DIYs with custom possibilities, I have a feeling you will like this one! Today I will show you how to make a set of 3 small, hanging mirrors with painted edges for a bit of non-traditional, unique look. They are very easy to make (no drilling or glass cutting), and the total budget for this project is around $10 for all 3!
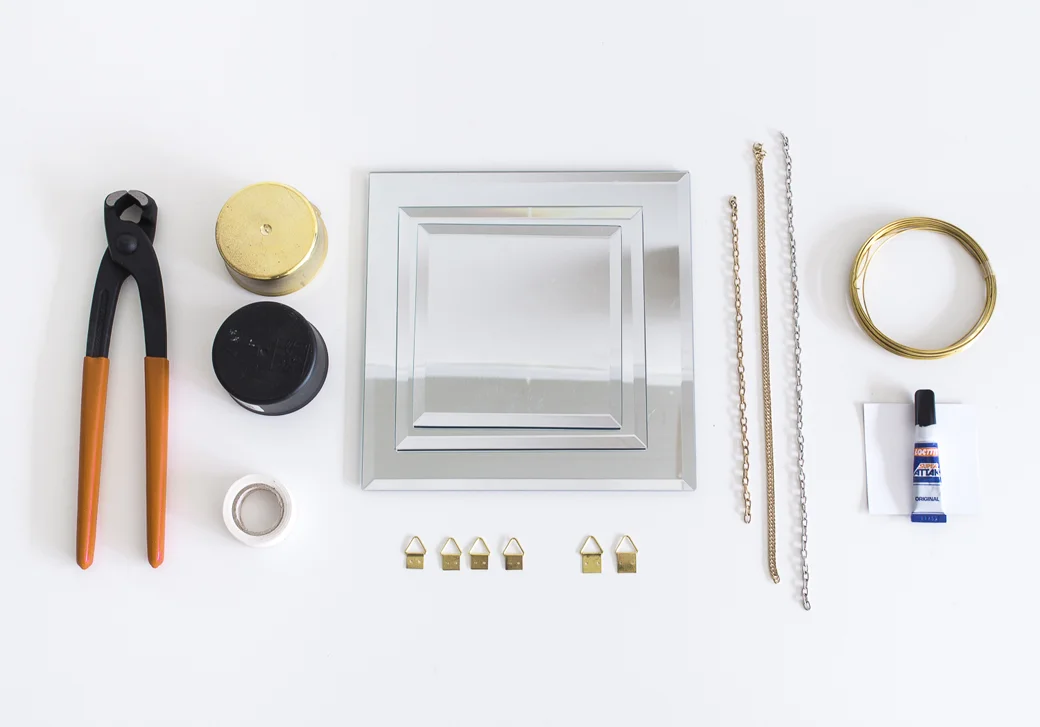
SUPPLY LIST - 3 small square mirrors (Tip: Instead of actual mirrors, use mirrored candle plates - they come in many shapes and you can get them for less than $3 each at craft and decor shops. - 3 strong chains, you can get them from your local hardware store or alternatively you can use jewelry chains but make sure they are strong enough to hold your mirrors. - 2 cans of spray paint (I used black and vintage gold) - painters tape - triangle hangers (2 for each mirror) - metal wire (optional) - metal cutter - very strong, hardware glue
HOW TO 1. Paint the edges of each mirror - in my set of 3, I painted one black and 2 vintage gold. I taped around the edges of each mirror, covered the center with a paper and spray painted them. Once painted, wait a few hours so the paint can dry well. You may want to spray them outdoors and wear your least favorite t-shirt! You can also spray them inside of a cardboard box to contain the spray paint.
2. Using strong glue, attach the triangle hangers at the back of each mirror. Make sure they are symmetrical by measuring the mirror and drawing a line to guide you.
3. Create a little metal rings with a wire. The easiest way to do it is to wrap the wire around the pencil, then cut the end with a metal cutter.
4. Attach the wire to the triangle hangers and hang your mirrors on the wall! That's it!
I have to say I really love how they turned out and I'm curious if you like them too? Have you ever customized a mirror before? Hope you enjoyed this tutorial and I will see you back here April 11th. In the meantime, I would like to wish you all Happy Easter, have a beautiful and relaxed Holiday! Agata.
(Photography, Project, Styling and Text: Agata Dimmich. Editor: Holly Becker)


