DIY: Modern Hanging Desk Organizers
Hello everyone, it Agata Dimmich back with my latest DIY Story - How are you today? I have a new DIY idea for you and it's going to be fun, are you ready to play along? Home is a place where we spend large parts of our lives, so it's important to make it joyful. What I mean by that, is keeping an eye on the items we use in our daily activities like cooking, cleaning, working - are they pretty? Do they make you smile when you look at them? Or are they only functional?
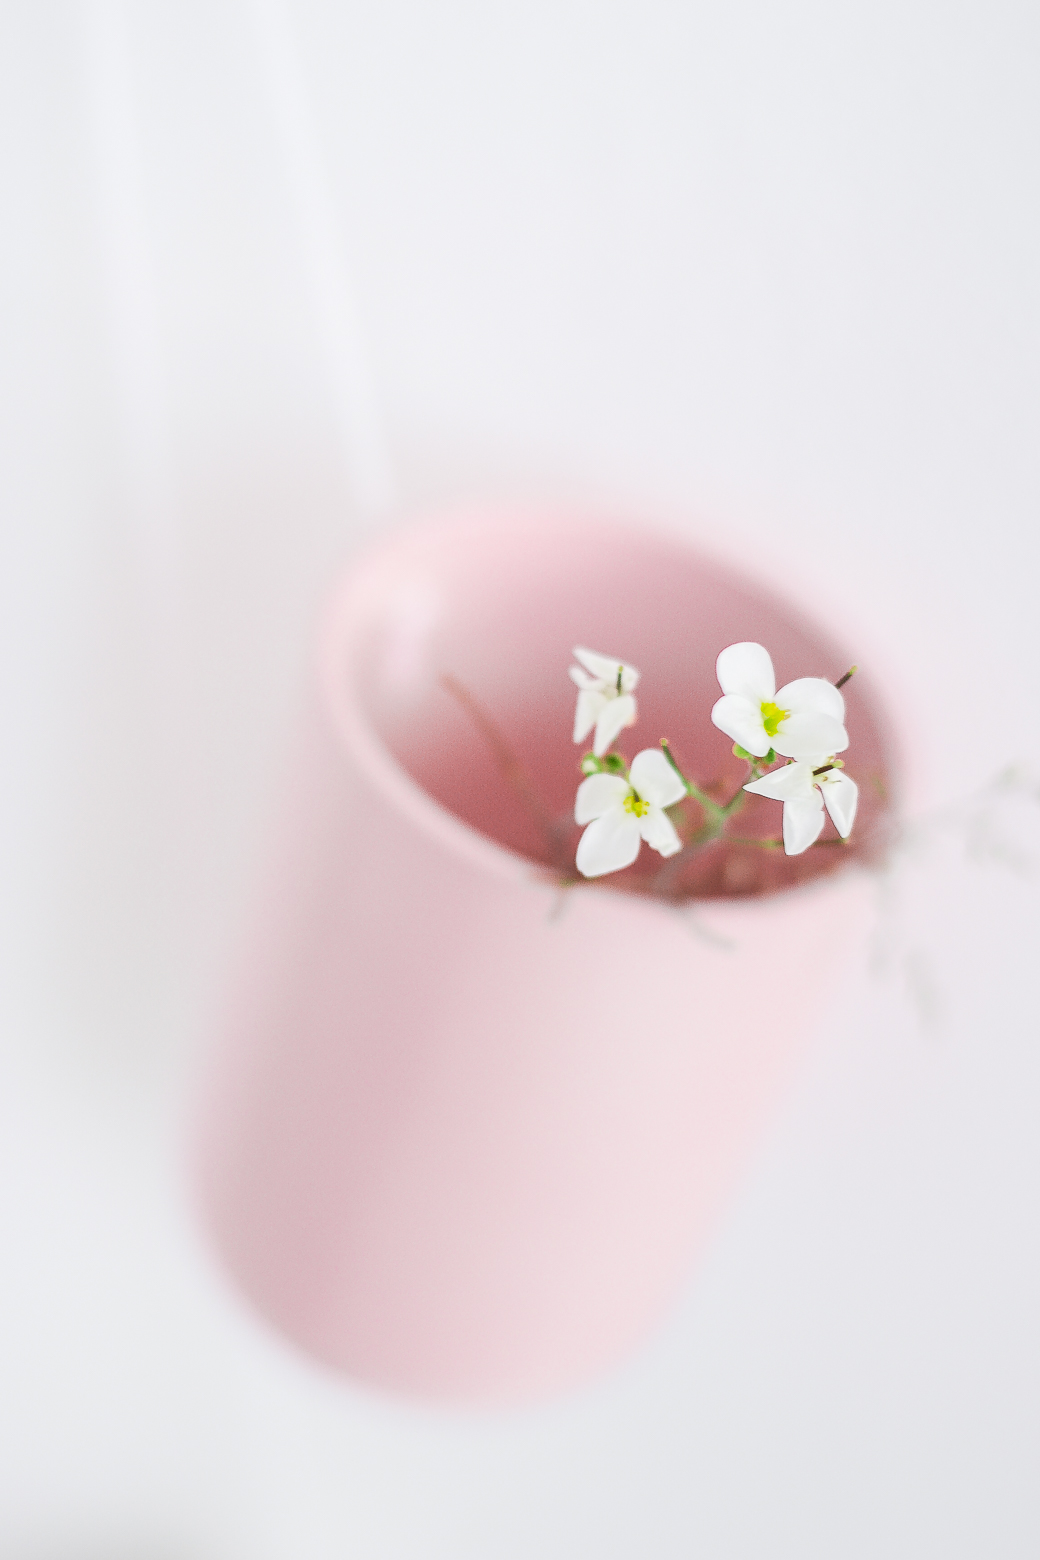
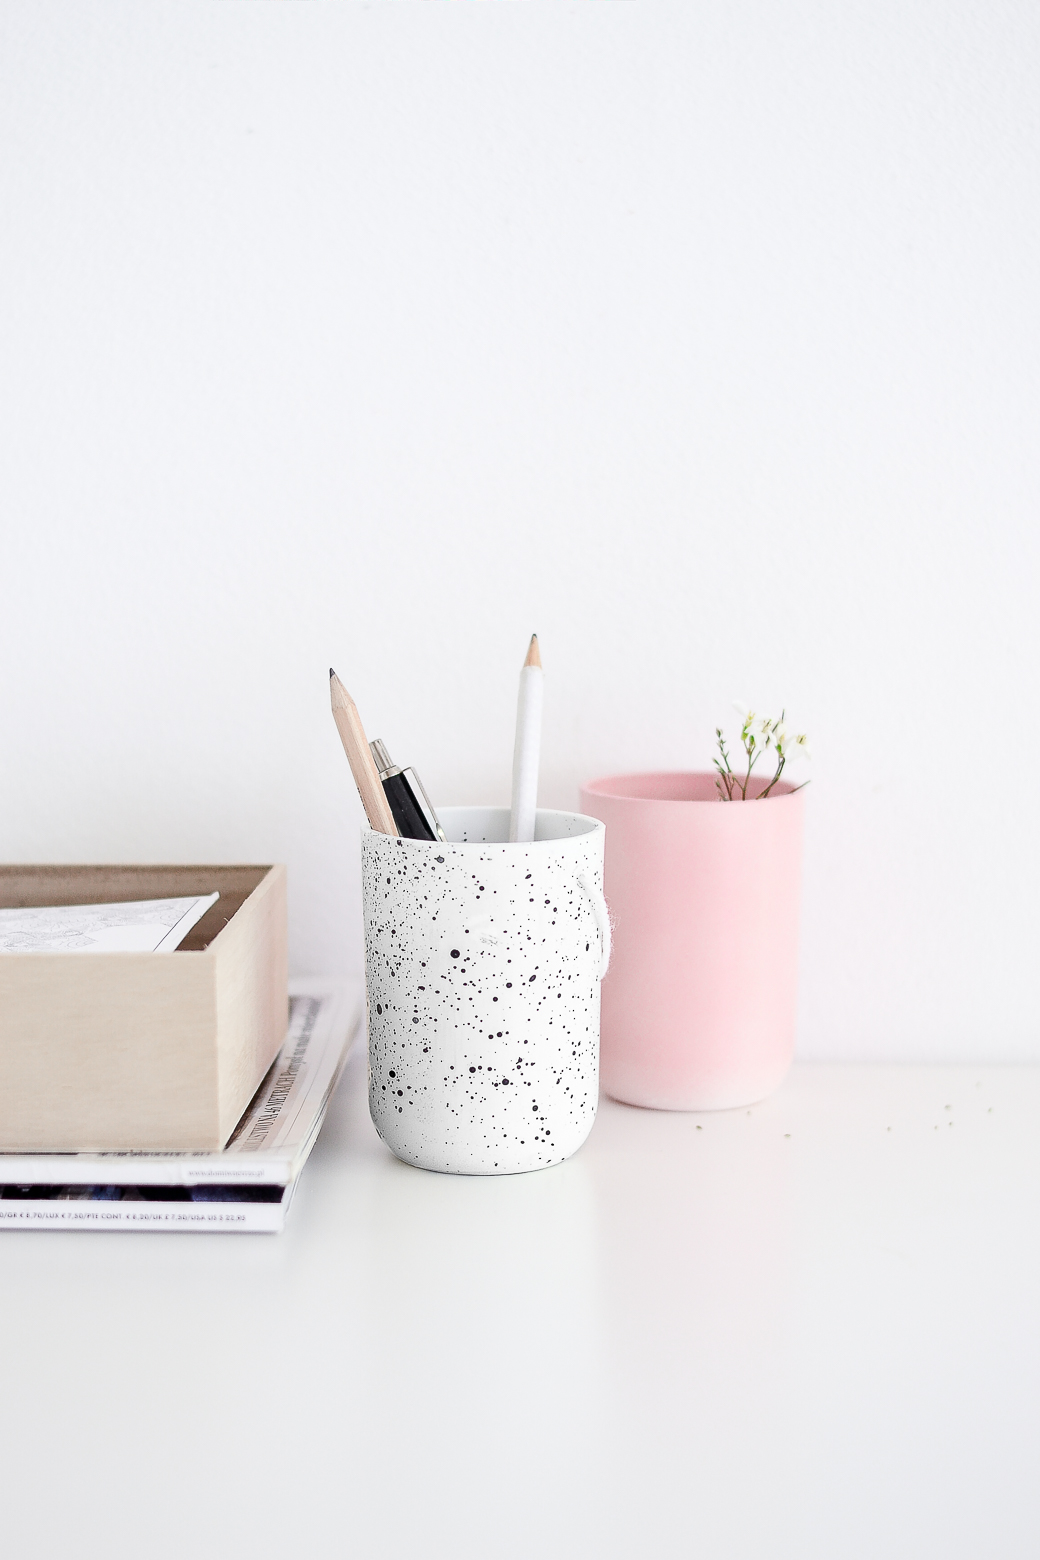
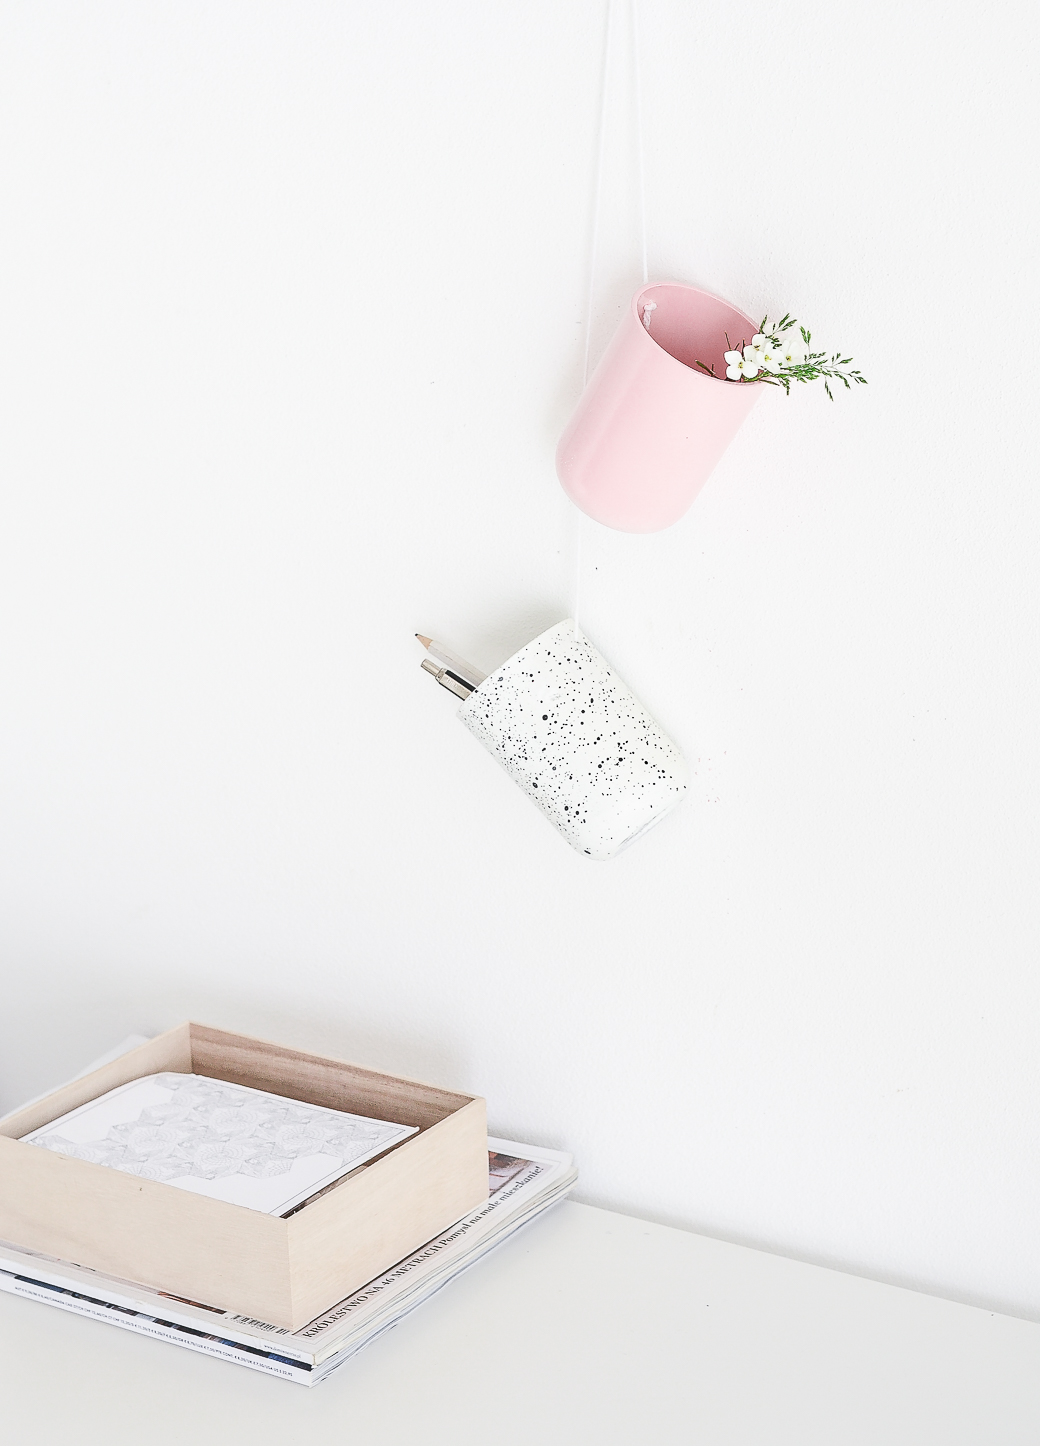
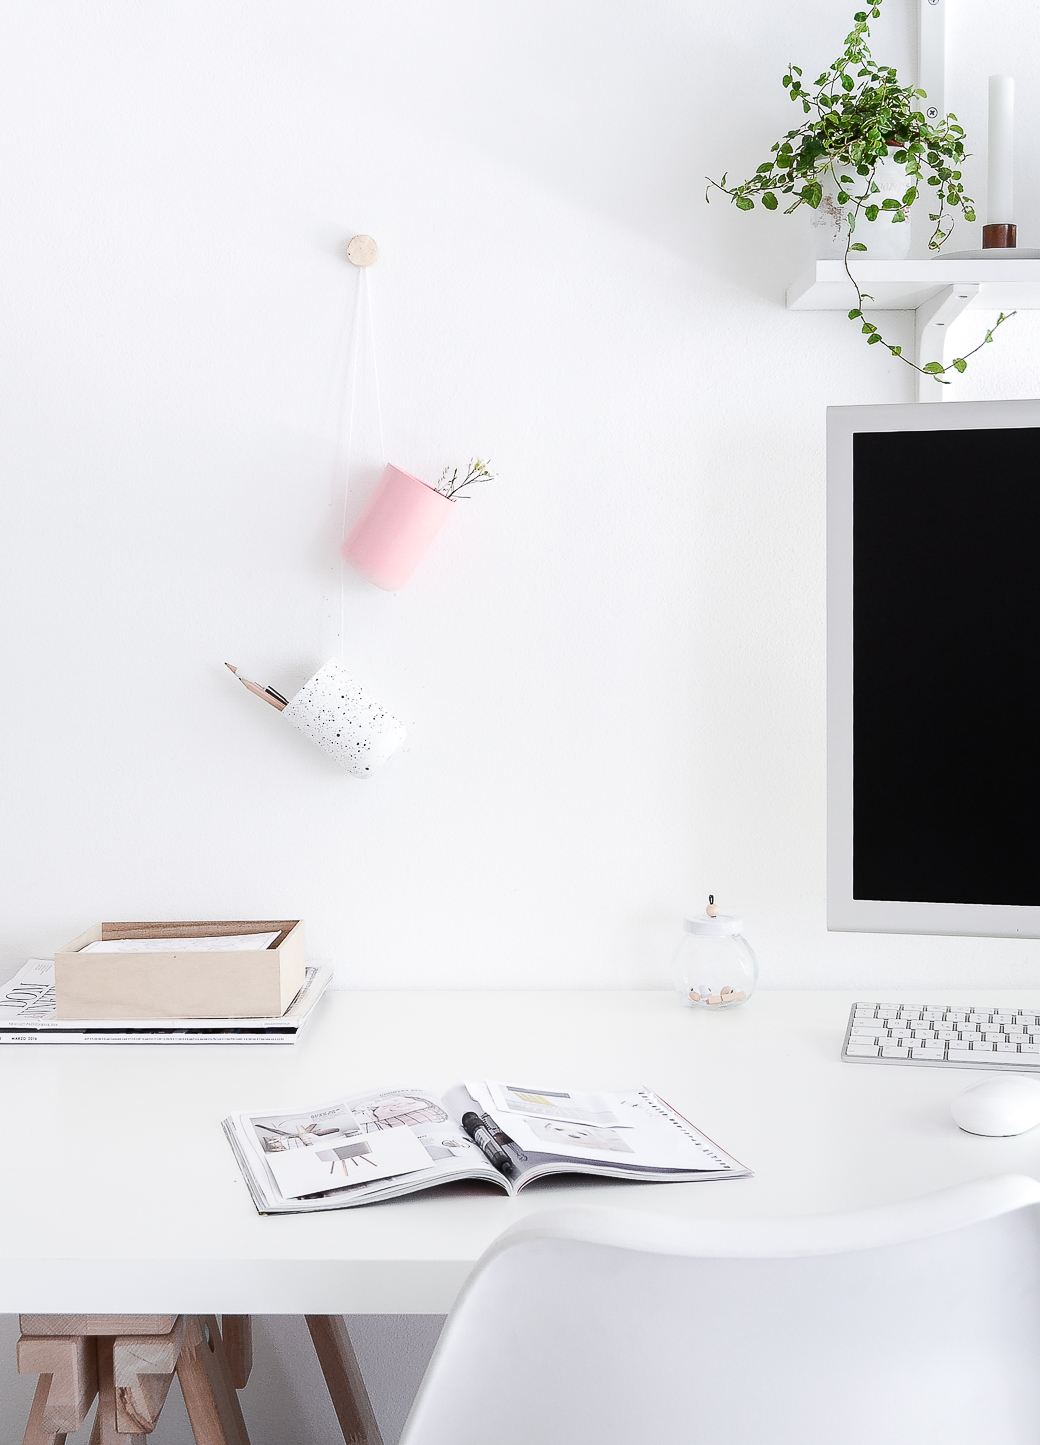
I always believe it's possible to combine all of the above and make some magic happen! This is why I decided to turn super-normal cups into the DIY Hanging Desk Organizers. It's a great accessory to hold a little flower or those pens that always seem to disappear when you most need them. Problem solved! Now they will hang right in front of your eyes, so you can't miss them!
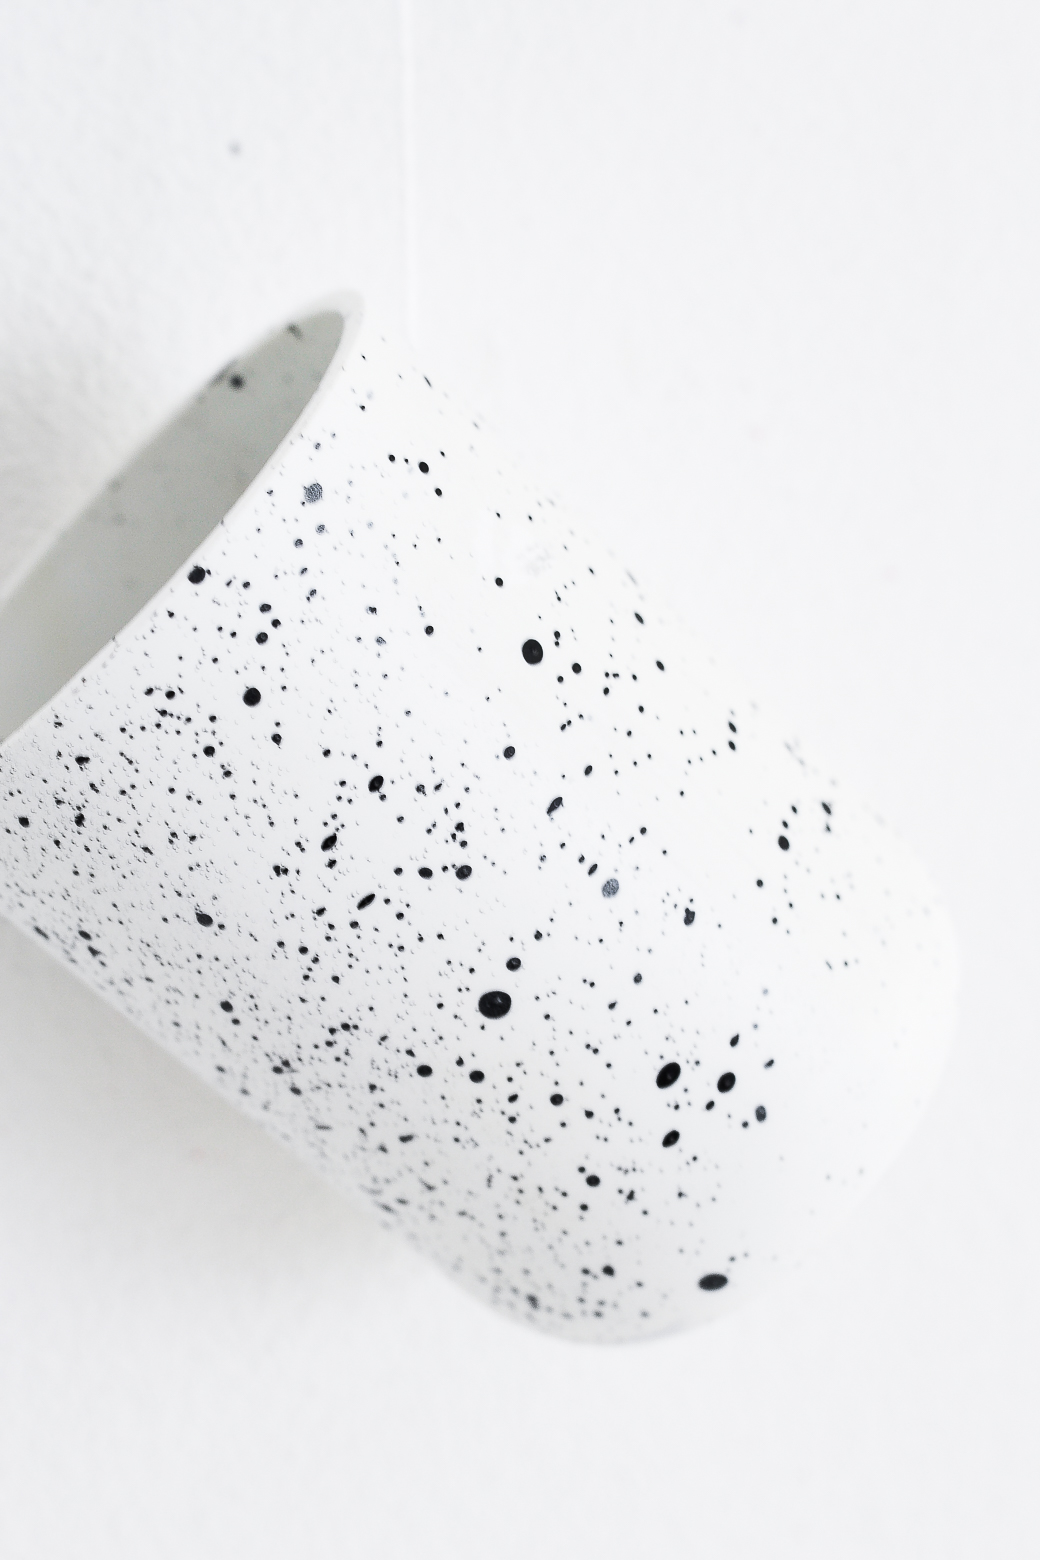
I have decided to go for pink and splatter combination which seems to be very much trending this year, however I encourage you to get creative and come up with your own, personalized patterns and colors.
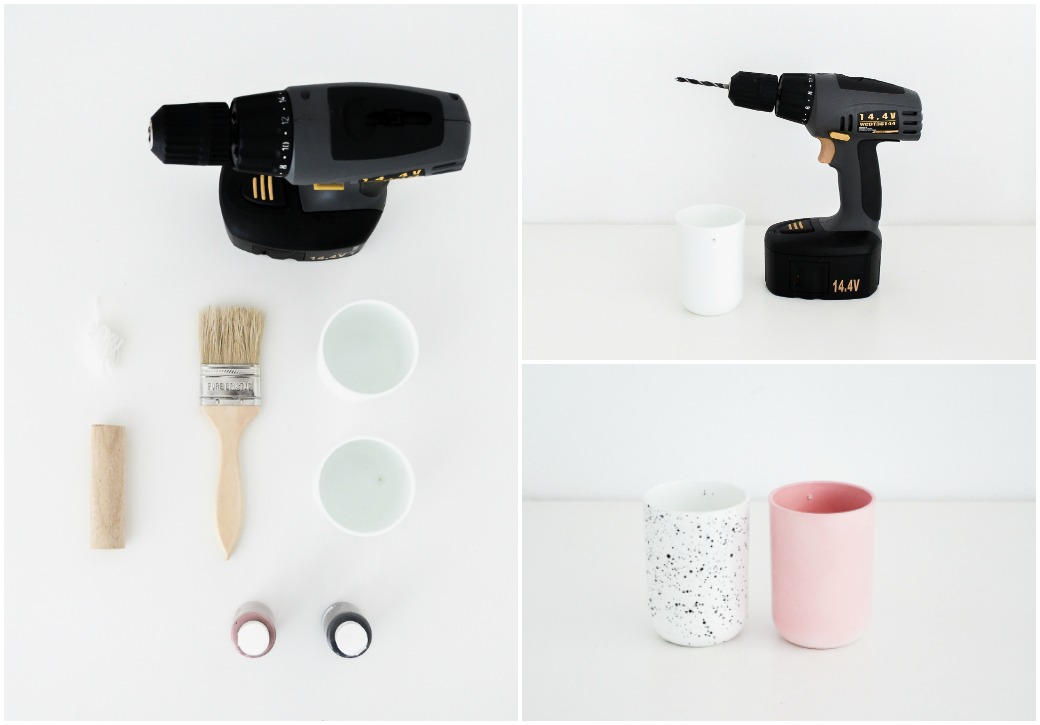
Here's what you will need to complete this project: 1. 2 simple plastic cups 2. drill 3. a string 4. round wooden stick 5. pink spray paint (specific for plastic) 6. black paint (specific for plastic) 7. paint brush 8. nail and hammer (to hang the cups on the wall)
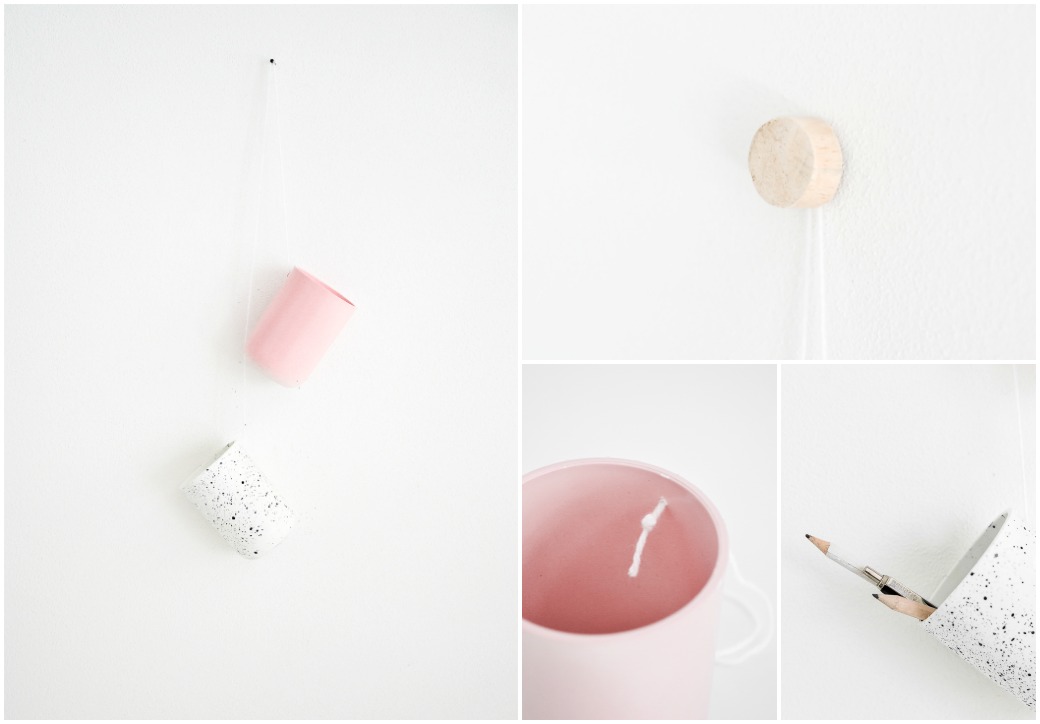
Instructions: 1. We will start off by drilling little wholes in the cups, more or less 1,5 cm down from the top. Tip: If you'd prefer your cups to hang straight, drill two holes in each cup. 2. Wash your cups well from all the dust and wait for them to dry well. 3. Using pink spray, paint one of the cups. Add splash pattern to the other, playing with black paint and the paint brush, then leave the paint to dry well (you don't want to have it on your wall! *wink*) 4. In the meantime - prepare the wooden element. Cut it to the desired size and drill a hole in it, big enough to cover the nail with it. 5. Pass the string through the holes of your cups and secure well with a big knot, then hang them on the wall. 6. At the end, cover the nail with a wooden element.
That's it! How do you like the result? I wish you an fantastic May and I’ll be back in June with another DIY idea for you to try. If you have any specific projects you would like me to do, please let me know in the comment section below. I would love to hear your thoughts! - Agata xo
(Text, Styling + Photography: Agata Dimmich)

