
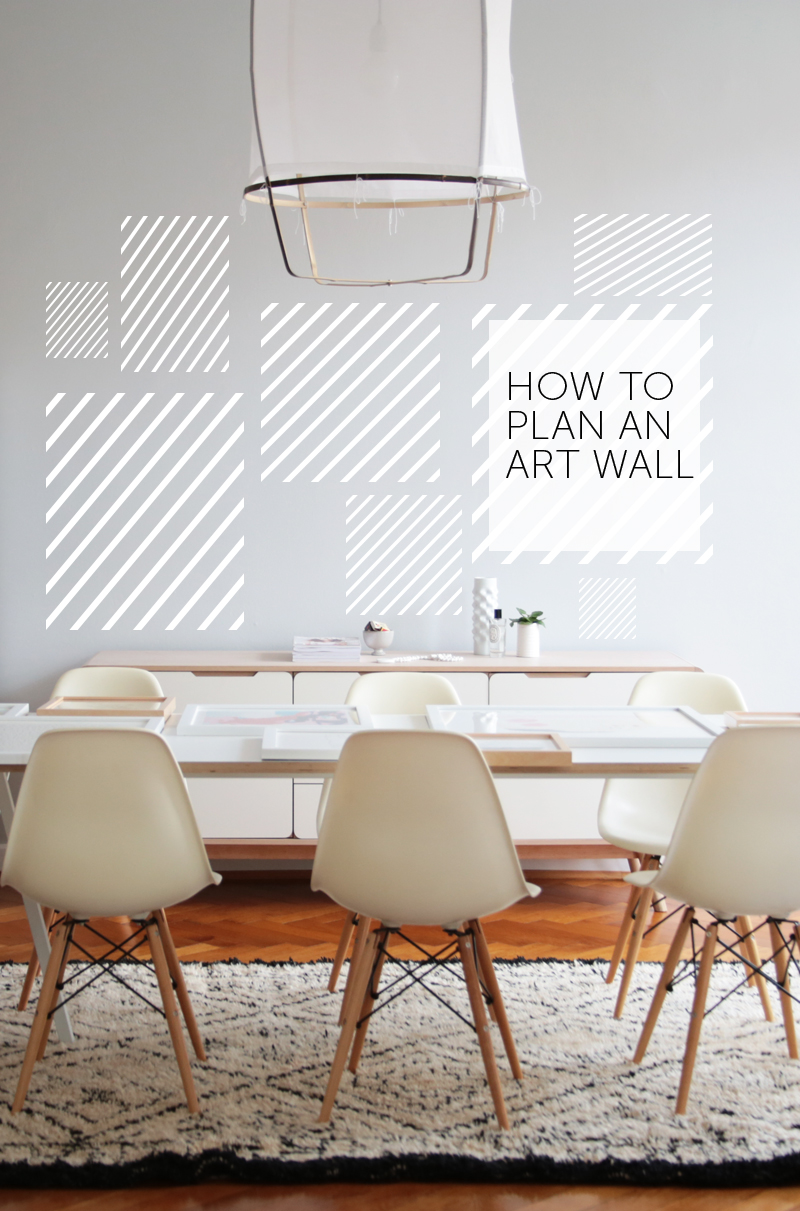
8 Easy Steps For Planning A Gallery Style Art Wall
minted_choosingart_10
I'm working together with Minted to present a series of posts on decor8 about planning and installing affordable, beautiful framed art at home with prints by artists far and wide. This is the first of three posts where I provide quick and easy advice on how I plan gallery style art wall because there is a rhyme and reason to it regardless of how many times you hear designers instructing you to just wing it. That may work, but only after your wall has a ton of nail holes and spackle marks.
To be fair, yes designers CAN wing it. But that's only after installing dozens of art walls for clients -- after awhile you can eyeball stuff and intuitively know where it should hang. But there are still some ground rules that are followed in the selection and arrangement whether the designer realizes it or not. Because that designer had to learn in the beginning and you can believe they learned art wall 101 - the importance of balance, telling a story through the work, hanging the focal point piece at eye level, etc. And they learned through a ton of trial, error and spackle paste.
HOW DO YOU PLAN AN ART WALL?
I don't know about you, but I rummage through what I currently own that hasn't been hung yet, or in this case, I go and buy it all at once because I have a deadline and need to get my work studio finished by the end of November. No time to build my collection over time. And I see no problem with that. I'm buying prints, not fine art originals, so there doesn't need to be a lot of thought behind each piece other than, Do I love it? Yes. Do the colors work? Yes. Does it work with what I'm already planning to use? Yes. Then it's onto size, type of framing, with it be matted, etc. So when it comes to planning, the first step is to love the work and find the right spot for it in your home.
HOW DO I SELECT THE RIGHT WORK?
My first thought for this particular project was: what do I want this room to convey? Energy and joy. This is quickest to achieve through color and works that don't take themselves too seriously. So no portraits of people, no black and white city views, nothing that makes you think too hard. I wanted a wall that you would look at quickly and simply feel energized and happy. Not much more. No story telling or deep emotional tales of love and war. I guess if you call my wall a person, she would be Cameron Diaz. Peppy, happy, fun, not too deep, a twinkle in her eye, feminine, free-spirited, energetic as all hell.
WHAT IS YOUR THEME OR MOOD?
Questions worth asking when choosing art for a salon style wall include: Do you plan to show favorite patterns and shapes, colors or a theme -like that you love to travel? Are you showing only family photos? Do you want to mix paintings with photography? Will you mix original works with prints and even three dimensional objects, like porcelain objects, old keys, rulers, etc.? For my wall, I'm going to mix in three dimensional objects after I install the wall, but for now I'm simply planning out the art and I'll fill the spaces after everything is up. I like to work backwards sometimes. My theme is around patterns and shapes but beyond that, it was a mood I was going for: energy and joy.
WHAT ABOUT FRAMES?
As far as frame colors go, neutrals all tend to work well together - white, natural wood and black. When you introduce metallics, stained woods, colored frames, etc. things can start to become visually distracting. In most cases, you don’t want the frame to be the focal point, but the artwork inside. I believe the frame shouldn’t contrast with the art too much, unless you are working with a monochromatic scheme (black art, white frame). So if you have a dark plum-color painting then having it framed in natural wood or black is more complementary and warmer - a stark white frame would make the contrast too great in my opinion.
For my project, I wanted to mix and match the frames, mostly white since I thought they'd stand out nicely against the slightly gray walls in this space and I wanted some with wooden frames to complement the sideboard. Frame width is also important. Do you want it super slim, a few inches wide, or wider? Lots of country-style frames tend to be wood and very thick - almost like four barn floor planks made into a frame. Modern art galleries favor super slim frames for works-behind-glass. Like pencil width. It's your choice and really about preference more than anything. If you like it, who cares if it's not typical or common.
HOW ABOUT MATTING?
I like work that is framed and matted but I also am happy with just frames. For these works, I went with just frames. I like the look of work filling the entire area. Mostly, when I do go with matting I go with pure white or linen. It depends on the print and the room, but either works very nicely. White shows off the work 100%, linen adds texture and warmth.
HOW DO YOU PLAN OUT AND INSTALL A GALLERY WALL?
If you lack patience like me, you can “wing it”. Planning complicates the process for me. The only real planning I do is that I measure the wall and then use Photoshop to mock up how I see the art (not 100% to scale but somewhat). I usually gather all of the work together in front of where I plan to install it and lay it out on the floor, playing with the arrangement until it looks right. In this case, I used my dining room tables since the art wall will go above the sideboard. If winging it isn't your plan of attack, here are 8 steps so you can plan it like the pros.

minted_choosingart_2
HOW TO PLAN A GALLERY ART WALL IN 8 STEPS:
1. SIZE MATTERS: Measure the wall area where you plan to install the art
2. HUNT & GATHER: Gather large pieces of solid paper in white or brown -- so wrapping paper, butcher paper, any large pieces you can find, and tape them all together to form one very large sheet of paper. This will most likely be about the size of a bed when you are finished.
3. GET LAID: Lay all of your art on the paper and move it around until it looks good. Until the arrangement speaks to you.(In my case, I laid all of my art out on the table directly in front of the wall where I plan to install it.)
4. HOCUS FOCUS: Make sure the focal point of your salon grouping (the boldest piece) is hung at eye level either in the center of the arrangement or slightly off center- and then place all pieces around it from there.
5. THAT'S TIGHT: For a tight grouping of art, try places them 3” apart. I don’t suggest planning your salon style wall in a symmetrical arrangement - it’s too hard to get right and a bit boring. I think the best spacing between frames is around 4-5” apart because then each piece can breath.
6. TRACE ELEMENTS: After the art is laid out in an arrangement that you like, trace all of the frames with a black magic marker (quick drying).
7. I'LL STICK YOU: The next step is to stick the massive sheet of paper* to the wall, in the exact position where the art will go. Tape it using painter’s tape so it doesn’t tear the wall when you remove it. Make sure the art heights and distances between pieces look right.
8. WELL HUNG: Hang the art directly over the paper with nails and then carefully cut out or tear down the paper when all of the art is hung. You should be left with an art wall with work in all the right places. If not, then lather, rinse and repeat. It may take a little tweaking - my first gallery style art wall was a hot mess.
In my second post in this series, I'll link you up to all of the works that I selected at Minted along with the frame styles and sizes. My final post of this series will be the big reveal, so stay tuned!
A big thanks to Minted for sponsoring my salon style art wall project.
* An alternative to a large sheet of paper is to use brown paper bags from the grocery store, cut them to be the same size as the art, and move them around on the wall until they look right.
(images: holly becker for decor8)