
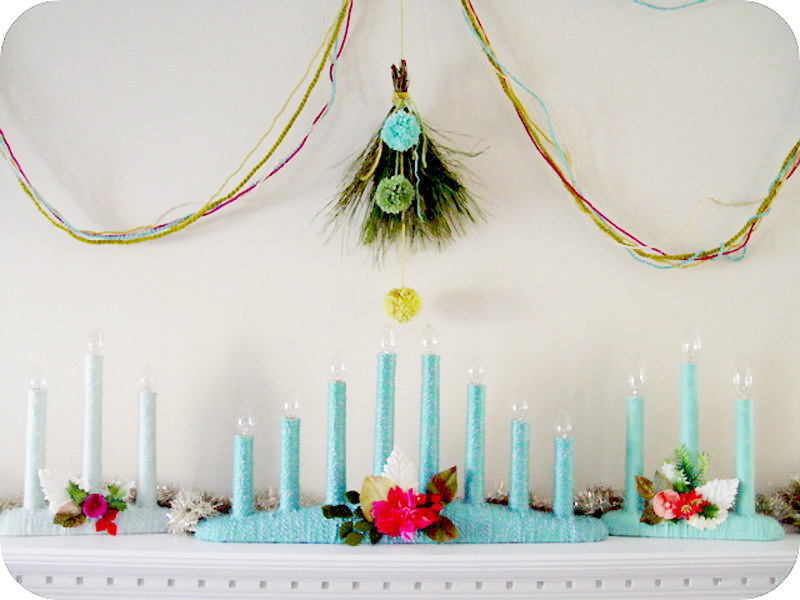
DIY Yarn Candelabras
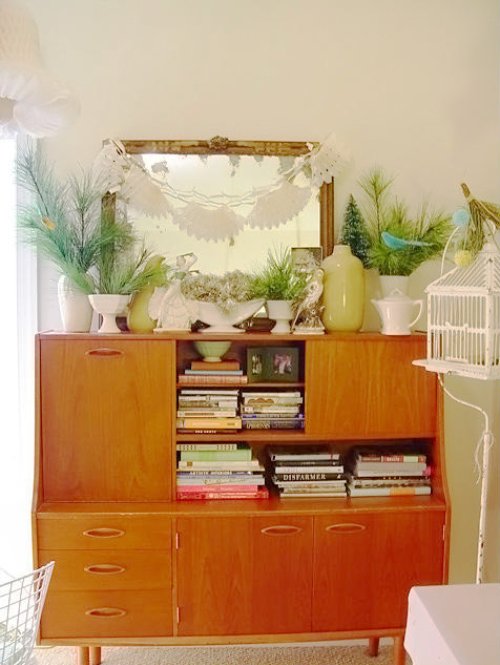
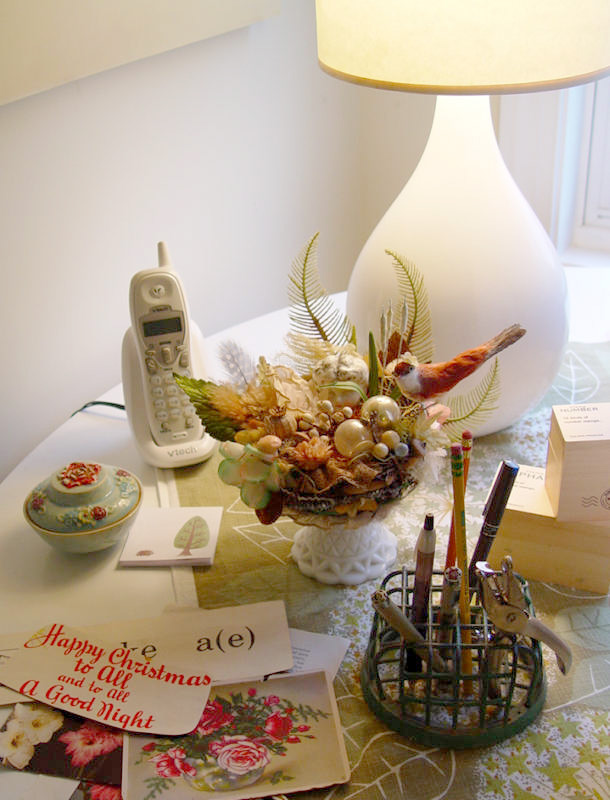
What's not to love about artist Katie Runnels, also known as the author of the Constant Gatherer blog and creator behind the lovely shop under the same name? Katie attended SCAD in Savannah and lives in South Carolina now where she works from her home-based studio. She's so dedicated to her craft, very talented, a true craft goddess and source of creative inspiration which is exactly why I asked her to pretty please visit us to share a fun DIY project to dress up all those candelabras out there -- crafty style! Katie will demonstrate how to whip up a yarn candelabra in no time. Go grab your favorite skein and your trusty glue gun, it's time to start a-craftin'. But first, Katie would like to share a quick glimpse of her home studio for inspiration -- you can see where all the DIY magic begins!

Now it's project time!
*Safety Note: Be very careful to use candelabras in excellent working condition - no frayed or exposed wiring. Never leave yarn wrapped candelabras unattended and follow the recommendations for safe decorating!
* Materials: Vintage (With Wiring in Good Condition) or New Electric Candelabra (photo candlebases), Yarn: Wool, Polyester, Acrylic or blends of these are recommended. Hot Glue Gun. Scissors. Millinery or Other Embellishments
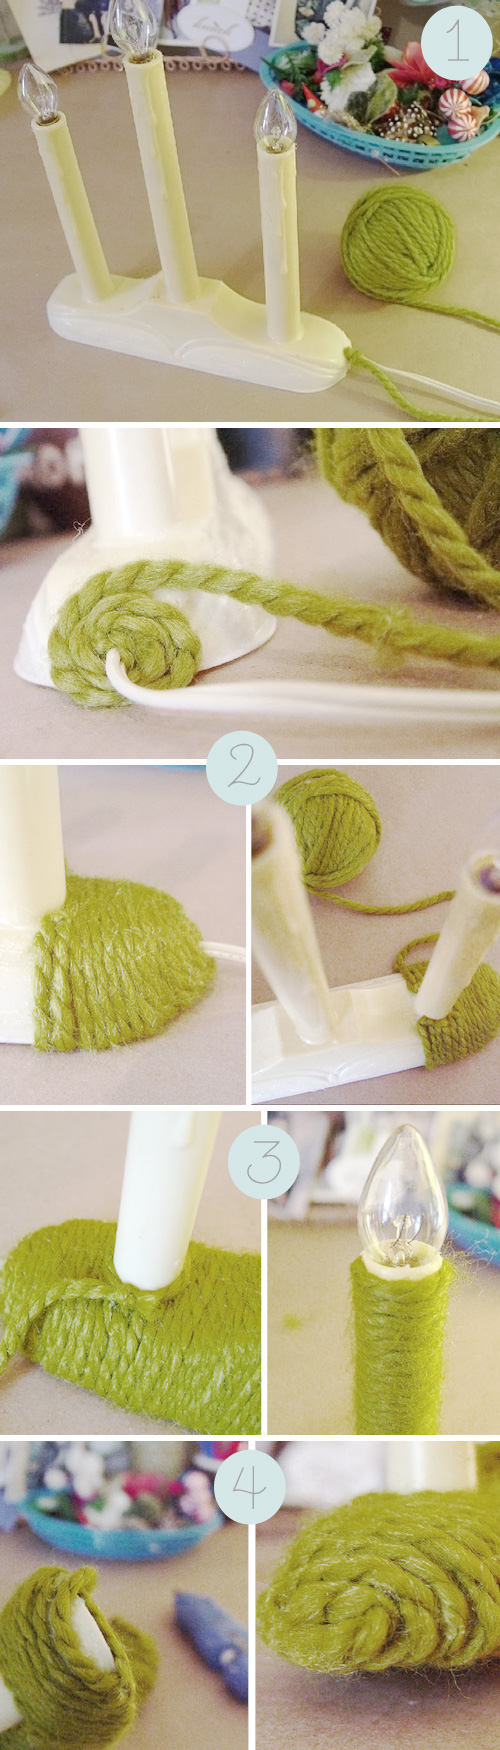
1. Begin by tying the loose end of your skein of yarn in a knot around the cord and snug against the candelabra base.
2. Keep working the Yarn around in a spiral. Eventually it will begin to wind around the base. Dab glue in small bits where you need help keeping the rows tight.
3. Wrap right up to the first candle-add some glue to both sides-and working quickly draw the yarn up and down again and then directly wind the yarn under again and up on the other side in the very same manner. Repeat until you have cleared the candle and continue wrapping normally until the next candle.
4. As you near the end of the candelabra you’ll need to add more glue to keep the yarn from slipping. When you reach the end and no more yarn can fit under the base begin to spiral the yarn around until you’ve covered the entire end of the piece.
5. When your base is finished begin wrapping the candles. Tie a knot at the base in the back of your candelabra, secure it with a little glue, and wrap your way to the top.
6. If you haven’t already- Remove the light bulb and as your wrapping nears the top, add a few dabs of glue to the outside edge (near the top-Not on The Top! Keep yarn & glue away from candle interior and bulb!). Cut yarn loose from the skein and press the end down into the glue.
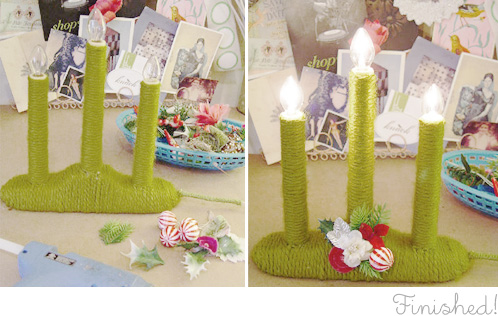
7. Finish by embellishing with vintage millinery leaves & flowers!
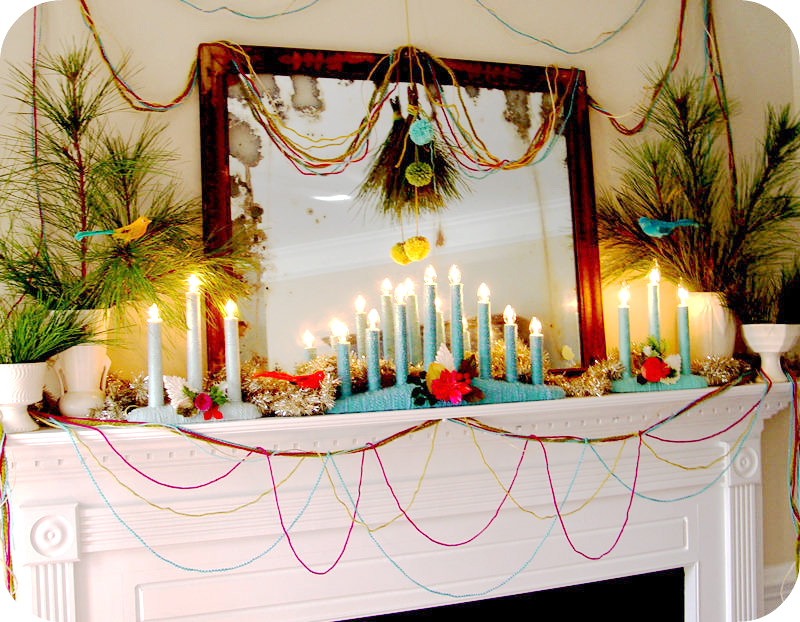
I hope that you had fun and that you're able to try this at home. Thank you Katie for joining us today and sharing your crafty project. :)
(images: katie runnels)